Raspberry Pi
I bought a Raspberry Pi 3 model B+ about a year ago. I had to check the order date because I was pretty sure I had it for longer but I only got it at the end of March 2019.
Now feels a good time to talk about my experience with the little guy. This will be my #100DaysToOffload fifth post.
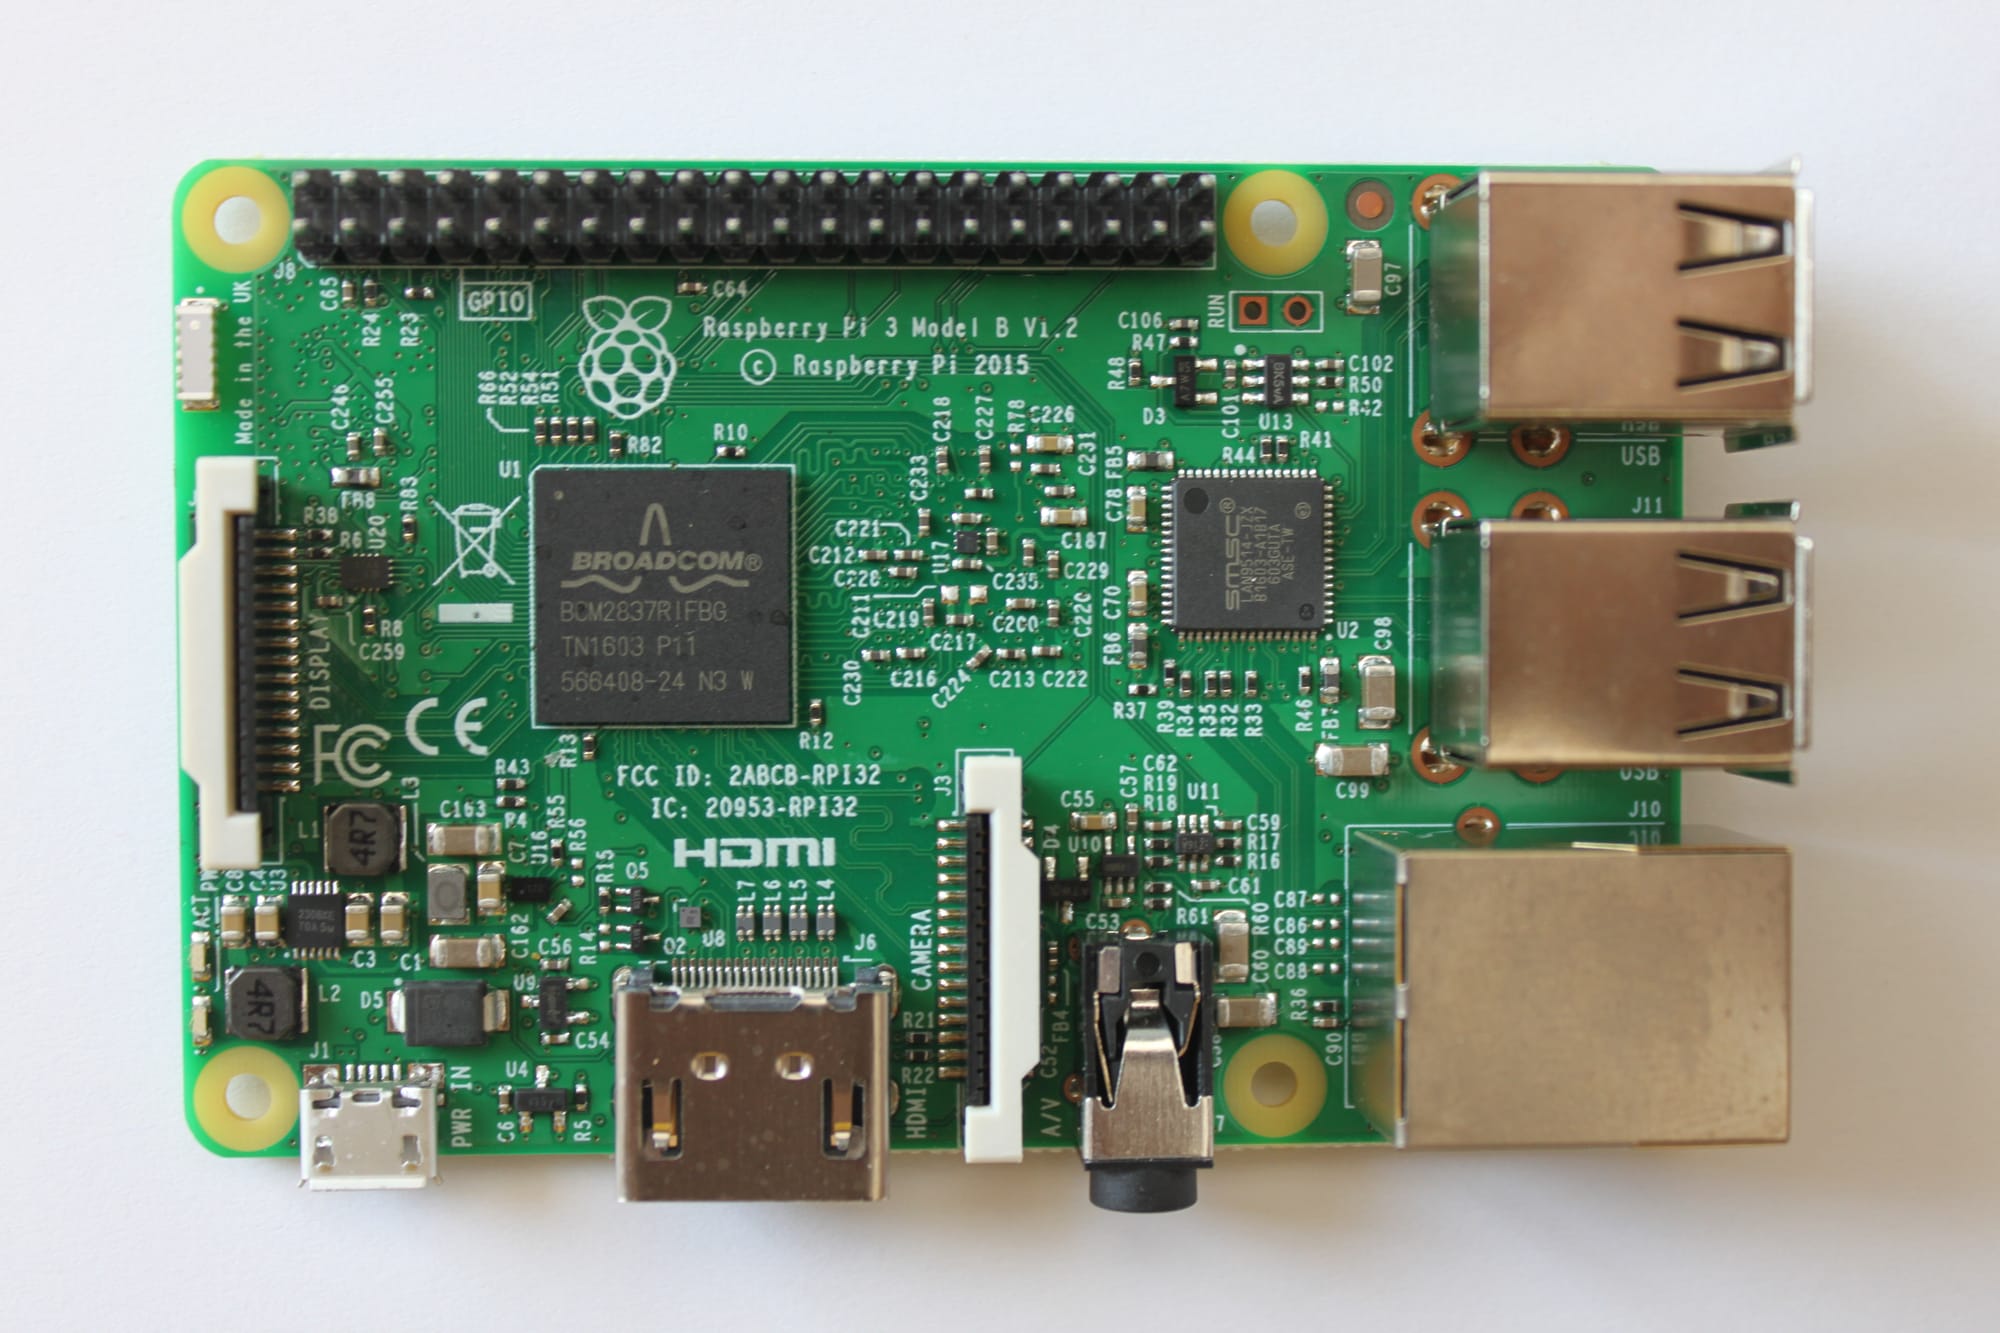
The Raspberry Pi
According to Wikipedia:
The Raspberry Pi is a series of small single-board computers developed in the United Kingdom by the Raspberry Pi Foundation to promote teaching of basic computer science in schools and in developing countries.
So in other words, when you buy a Raspberry Pi, you get a full-fledged low-spec device with which you can do basically anything you want as long as it stays in its computing power. You can either attach a keyboard, a mouse and a screen and use it as a desktop computer ; or you can just connect it to the network (wired or not) and use it as a small server. That's how I use it.
Securing your connection
In order to use any computer without a mouse and a keyboard, you need to attach it to the network and a way to remotely access it. Since your device will likely be connected to the internet and for some reason, you might wish to access it when not connected to your home network, you'll also want to secure this access.
SSH is perfect for this. It allows you to remotely connect to any computer you're supposed to have access to. You can either use a password or a public/private key pair. I won't go into details of how SSH and public-key cryptography work in this article but you can find some good resources on the internet, starting with the Wikipedia page I linked just above.
A good thing to do when enabling SSH on your machine is to change the port it listens to. By default, SSH expects you to connect on port 22. The bad guys know this, and might try to force into your machine if you leave it unprotected and accessible from the internet listening on port 22. To change the SSH port on Debian, you'll have to edit a file and restart sshd:
sed -i ".bak" "s/Port 22/Port 23574/" /etc/ssh/sshd_config
systemctl restart service sshd
I also usually install ufw and restrict the ports I open on the machine. This prevents unexpected programs to receive connections unless I authorize them.
# Let's not prevent ourselves from logging in before enabling the rules.
ufw allow 23574
ufw enable
Of course these aren't the only measures you should take to protect your machine from unwanted access. Disallowing root login, forbidding password login (both SSH config options), preventing all connections from outside of your LAN (ufw/firewall) are also recommended.
Services
I run a couple of services on my Pi:
- Home Assistant
- Pi Hole
- Monitoring (InfluxDB & Grafana)
I currently use the hosted version of Miniflux but I plan to migrate it to my Pi someday.
I will talk in more details of all these services in later articles, for now I'll just focus on how I back this up.
Backup scripts
At last, the need to have some backup strategy arises when you start to run more than just a couple of scripts on your server. In my case, I realized this when I started to rely on Home Assistant for my home automation system.
As promised in the article about my Synology NAS and the backups, here is the script I use to regularly backup my Raspberry Pi important files. This is the Home Assistant version, the other script is nearly identical except for the files included in the zip archive.
#!/bin/bash
set -e

LOCAL_BACKUP_FOLDER="/home/homeassistant/backup"
MOUNTED_BACKUP_FOLDER="/mnt/synology-backup/homeassistant"
LOG_FILE="/home/homeassistant/backup.log"

echo $(date -Iseconds) "Starting backup"
touch $LOG_FILE
chown homeassistant:homeassistant $LOG_FILE

mkdir -p $LOCAL_BACKUP_FOLDER

echo $(date -Iseconds) "Zipping files"
# zip quietly, recursively, and with max compression
zip -q -r -9 $LOCAL_BACKUP_FOLDER/"hass-$(date +'%Y-%m-%d-%H-%M-%S').zip" \
	/home/homeassistant/.homeassistant \
	-x /home/homeassistant/.homeassistant/home-assistant_v2.db
chown -R homeassistant:homeassistant $LOCAL_BACKUP_FOLDER

# cp could fail if the target directory is not mounted.
# In this case, we don't rm the files (see set -e at the top).
echo $(date -Iseconds) "Copying backups"
cp -Rn $LOCAL_BACKUP_FOLDER/* $MOUNTED_BACKUP_FOLDER/

echo $(date -Iseconds) "Deleting backups"
rm -rf $LOCAL_BACKUP_FOLDER

echo $(date -Iseconds) "Backup finished"
This script:
- Zips everything we want to back up and compress it to the maximum. Use the date in the filename so it's easily identifiable when a restore is needed.
- Copies the files to a folder where the backup volume of my NAS is mounted
- Removes the zip file if everything went smoothly
For this simple script to work, I had to mount a volume of my NAS on the Raspberry Pi. This is done by adding a new line to the /etc/fstab file:
//<ip_address>/backup /mnt/synology-backup cifs username=<username>,password=<password> 0 0
This mounts the /backup volume of my NAS to the /mnt/synology-backup folder on my Raspberry Pi, so that when I write files to the folder on the Pi, the contents are actually written to my NAS.
And the last piece of the puzzle: to run the script periodically I had to edit a crontab. cron is a Linux program designed to run periodical tasks. It's based on a file called a crontab which tells what to run when. Each user has its own crontab. I decided to use root's to run my scripts so that I won't run into permission issues:
30 3 * * * /home/homeassistant/backup.sh >> /home/homeassistant/backup.log
It may seem cryptic at first but it's quite simple. It runs my script daily at 03:30, redirecting all echos and other output to the backup.log file. That allows me to go there and check what happened during the backup if I notice something odd.
With this setup, I have a snapshot of my most important files taken every day and synced up to my NAS. I'll write another script later to automate the cleaning of old backups to prevent infinite growth of the backup size. But it's not much of a concern for the moment since a month of backups weighs only 1.7 GB.