Designing and 3D Printing a Wall Mount for my ISP Modem
I recently moved to a new apartment and now I have a little closet which contains the electrical board. It's also where the optical fiber comes in and so it's where I put my ISP-provided modem.
For a few weeks, it sat on the floor in this closet since I didn't have any room for it anywhere else. I wasn't satisfied, so I decided to design some small pieces to create a wall mount for the beast.
Challenge #100DaysToOffload No. 16
3D Computer Assisted Design
Finding a software
I used various CAD software during my studies, mainly SolidWorks and SolidEdge, but these are both expensive and way overkill pieces of software. I had to find a free alternative (as in free beer), preferably free (as in free software) and open source.
I first tried FreeCAD, which ticks all the boxes. It also has a rich community, a great documentation and tutorials. I had a couple of issues (visual glitches, and a crash) which made me look for another CAD software.
Then I found Fusion 360. It's a product from Autodesk, famous for AutoCAD, a widely used CAD software. I didn't suffer any glitch but it required me to create an online account to download and use the software, the files weren't stored on my hard drive but rather on their cloud, and it felt slower than FreeCAD. All things considered, I uninstalled Fusion 360 and opened back FreeCAD.
Designing the parts
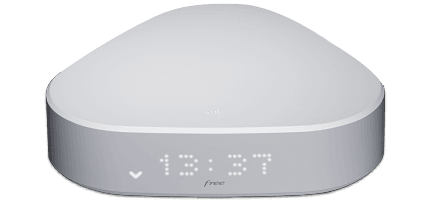
My modem has a triangular shape with a screen on one edge and ports on the opposite angle. If you want to see what it looks like, search "freebox delta S" on your favorite search engine, it's the smallest of the two triangles you'll find 😉. I wanted to put it on my wall, ports facing down and screen facing up. So I designed two pieces to support the weight of the box and one to put at the top to prevent from tumbling.
Here's what they look like:
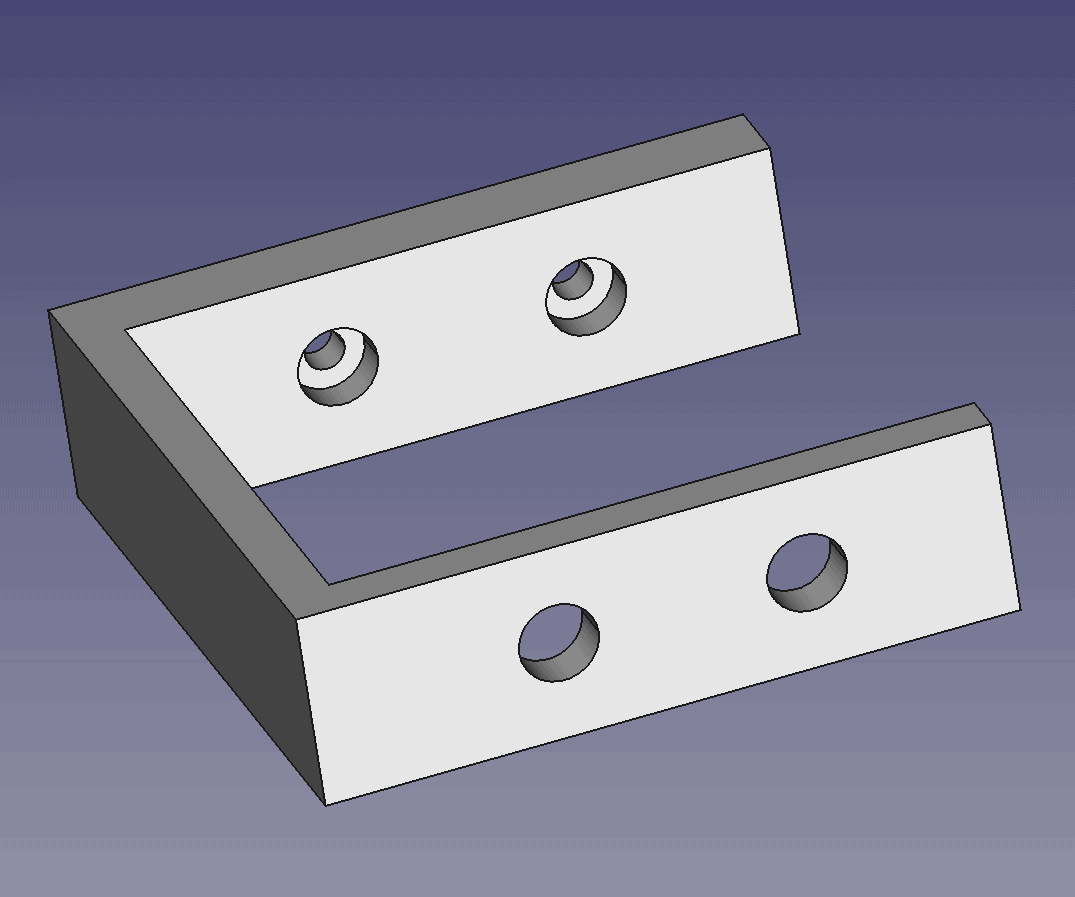
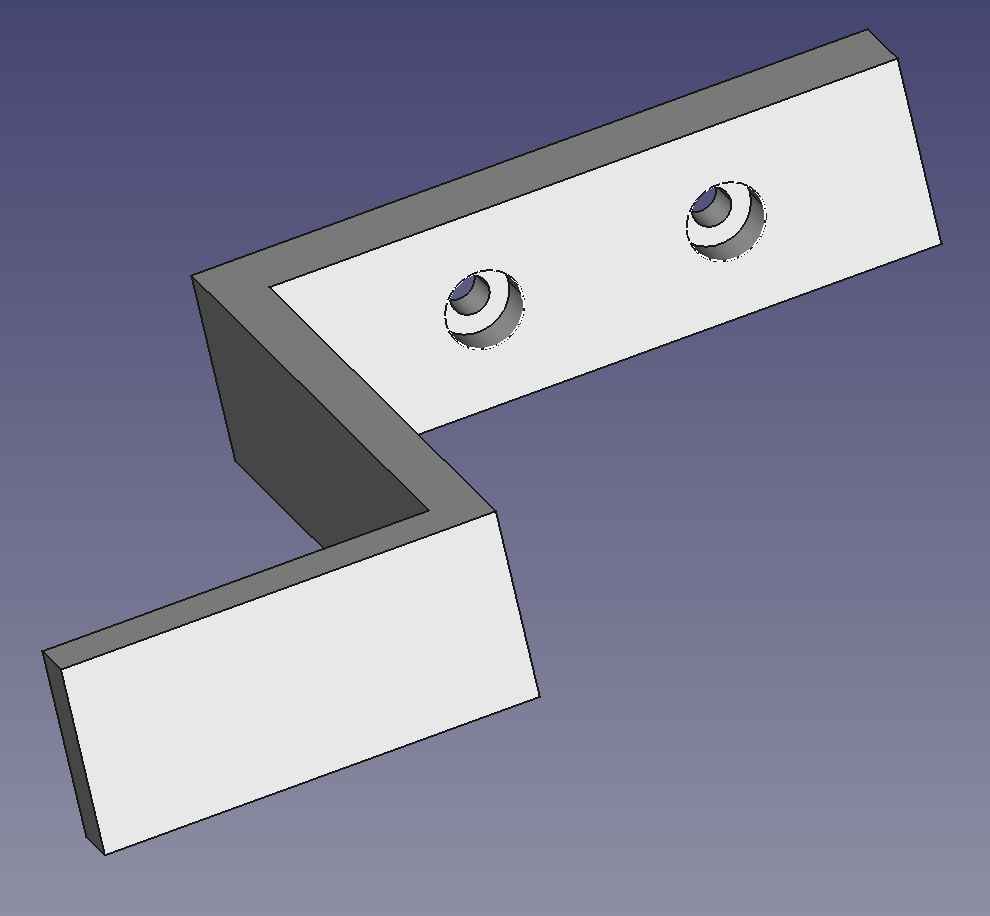
Screenshots of the 3d models, bottom and top piece
The piece looking like a U will be printed twice and will support the modem on the bottom and the S shape will prevent it from tumbling. The holes with two diameters are there to let a screw pass and hide its head. The other holes on the opposite side of the U are there to make room for my screwdriver when mounting them.
You can download them here:
You can also find them on Printables.
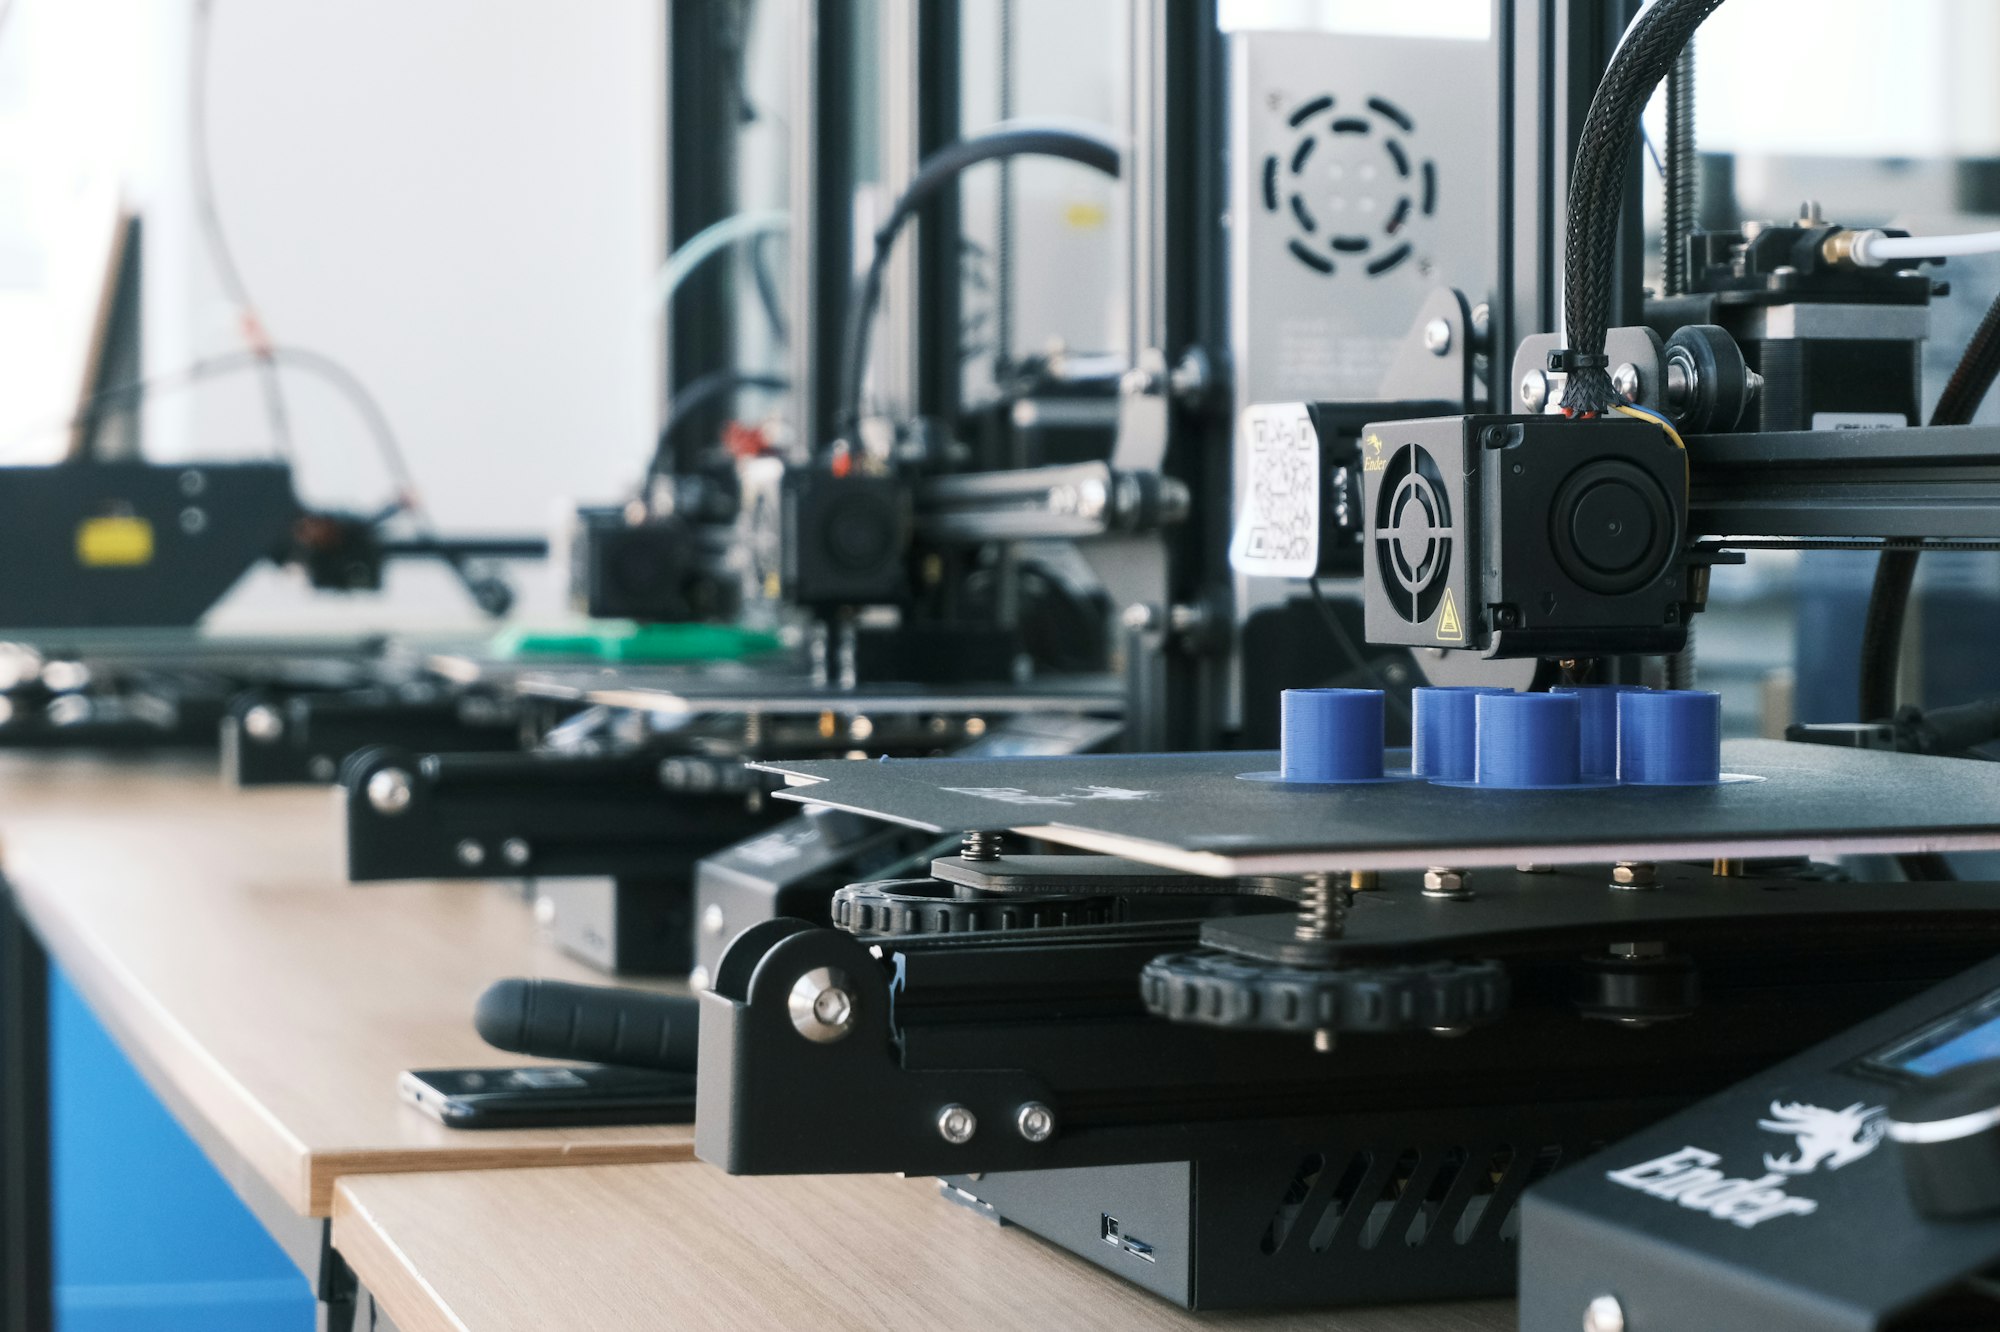
Printing
I tried to find someone with a 3D printer among my colleagues and friends but no one was available. I also looked for 3D printing as a service but it was very expensive (between 20 and 30 euros for my 3 small pieces).
I finally settled on a workshop in a nearby city. I ruled it out at first because it was too far away to go there by bike but it was the only available option so I took my car and went there. It's managed by a non-profit association called Fabrique d'Objets Libres (Free Objects Factory, with free as in free software). If you want to get access to the workshop, you need to become a member. After that you can access the machines during specific times where volunteers from the association come and open the workshop. They provide help using the machines and check if you're doing things safely.
I had a small 3D printing experience a year ago but I forgot nearly everything. I knew you had to run your model through another software called a slicer. It's tailored for a specific printer and will ultimately turn your model into a path for the printing head to follow. For this, it creates slices (well-chosen name, huh?). Each slice will be a layer of plastic put on top of another, gradually leading to your final piece. The slicer is specific to the 3D printer model so I won't go into details here but you can basically pick the pattern the head will follow and the filling density. All of these parameters will affect the quantity of material used to print your work.
3D printing is a very long process. We added my three pieces to the printing job and the slicer predicted a printing time of five hours. I came back the day after to pick the result and it looked really nice! I just had some cleaning to do because the slicer added some plastic between my wall mount and the board and also to support the holes.
Mounting
When I came back home, I tried putting the screw inside the holes I made for it during the design phase. It didn't work. I was sad. I took a little margin but it was not enough and 3D printing is not a very precise process. I had to enlarge the holes with a knife.
After that, mounting was fairly straightforward. We put the bottom pieces on the modem, used a paper and pen to mark the position of the holes and put it on the wall as a template before drilling. We put screw anchors in the wall, screwed the bottom pieces, slid the modem, drilled holes for the top piece, screwed it, and voila!
I was a bit worried about the resistance for the bottom pieces but they seem to handle it very well thanks to the top piece which helps keeping the weight closer to the wall where they're stronger.
Here's what it looks like once mounted and plugged:
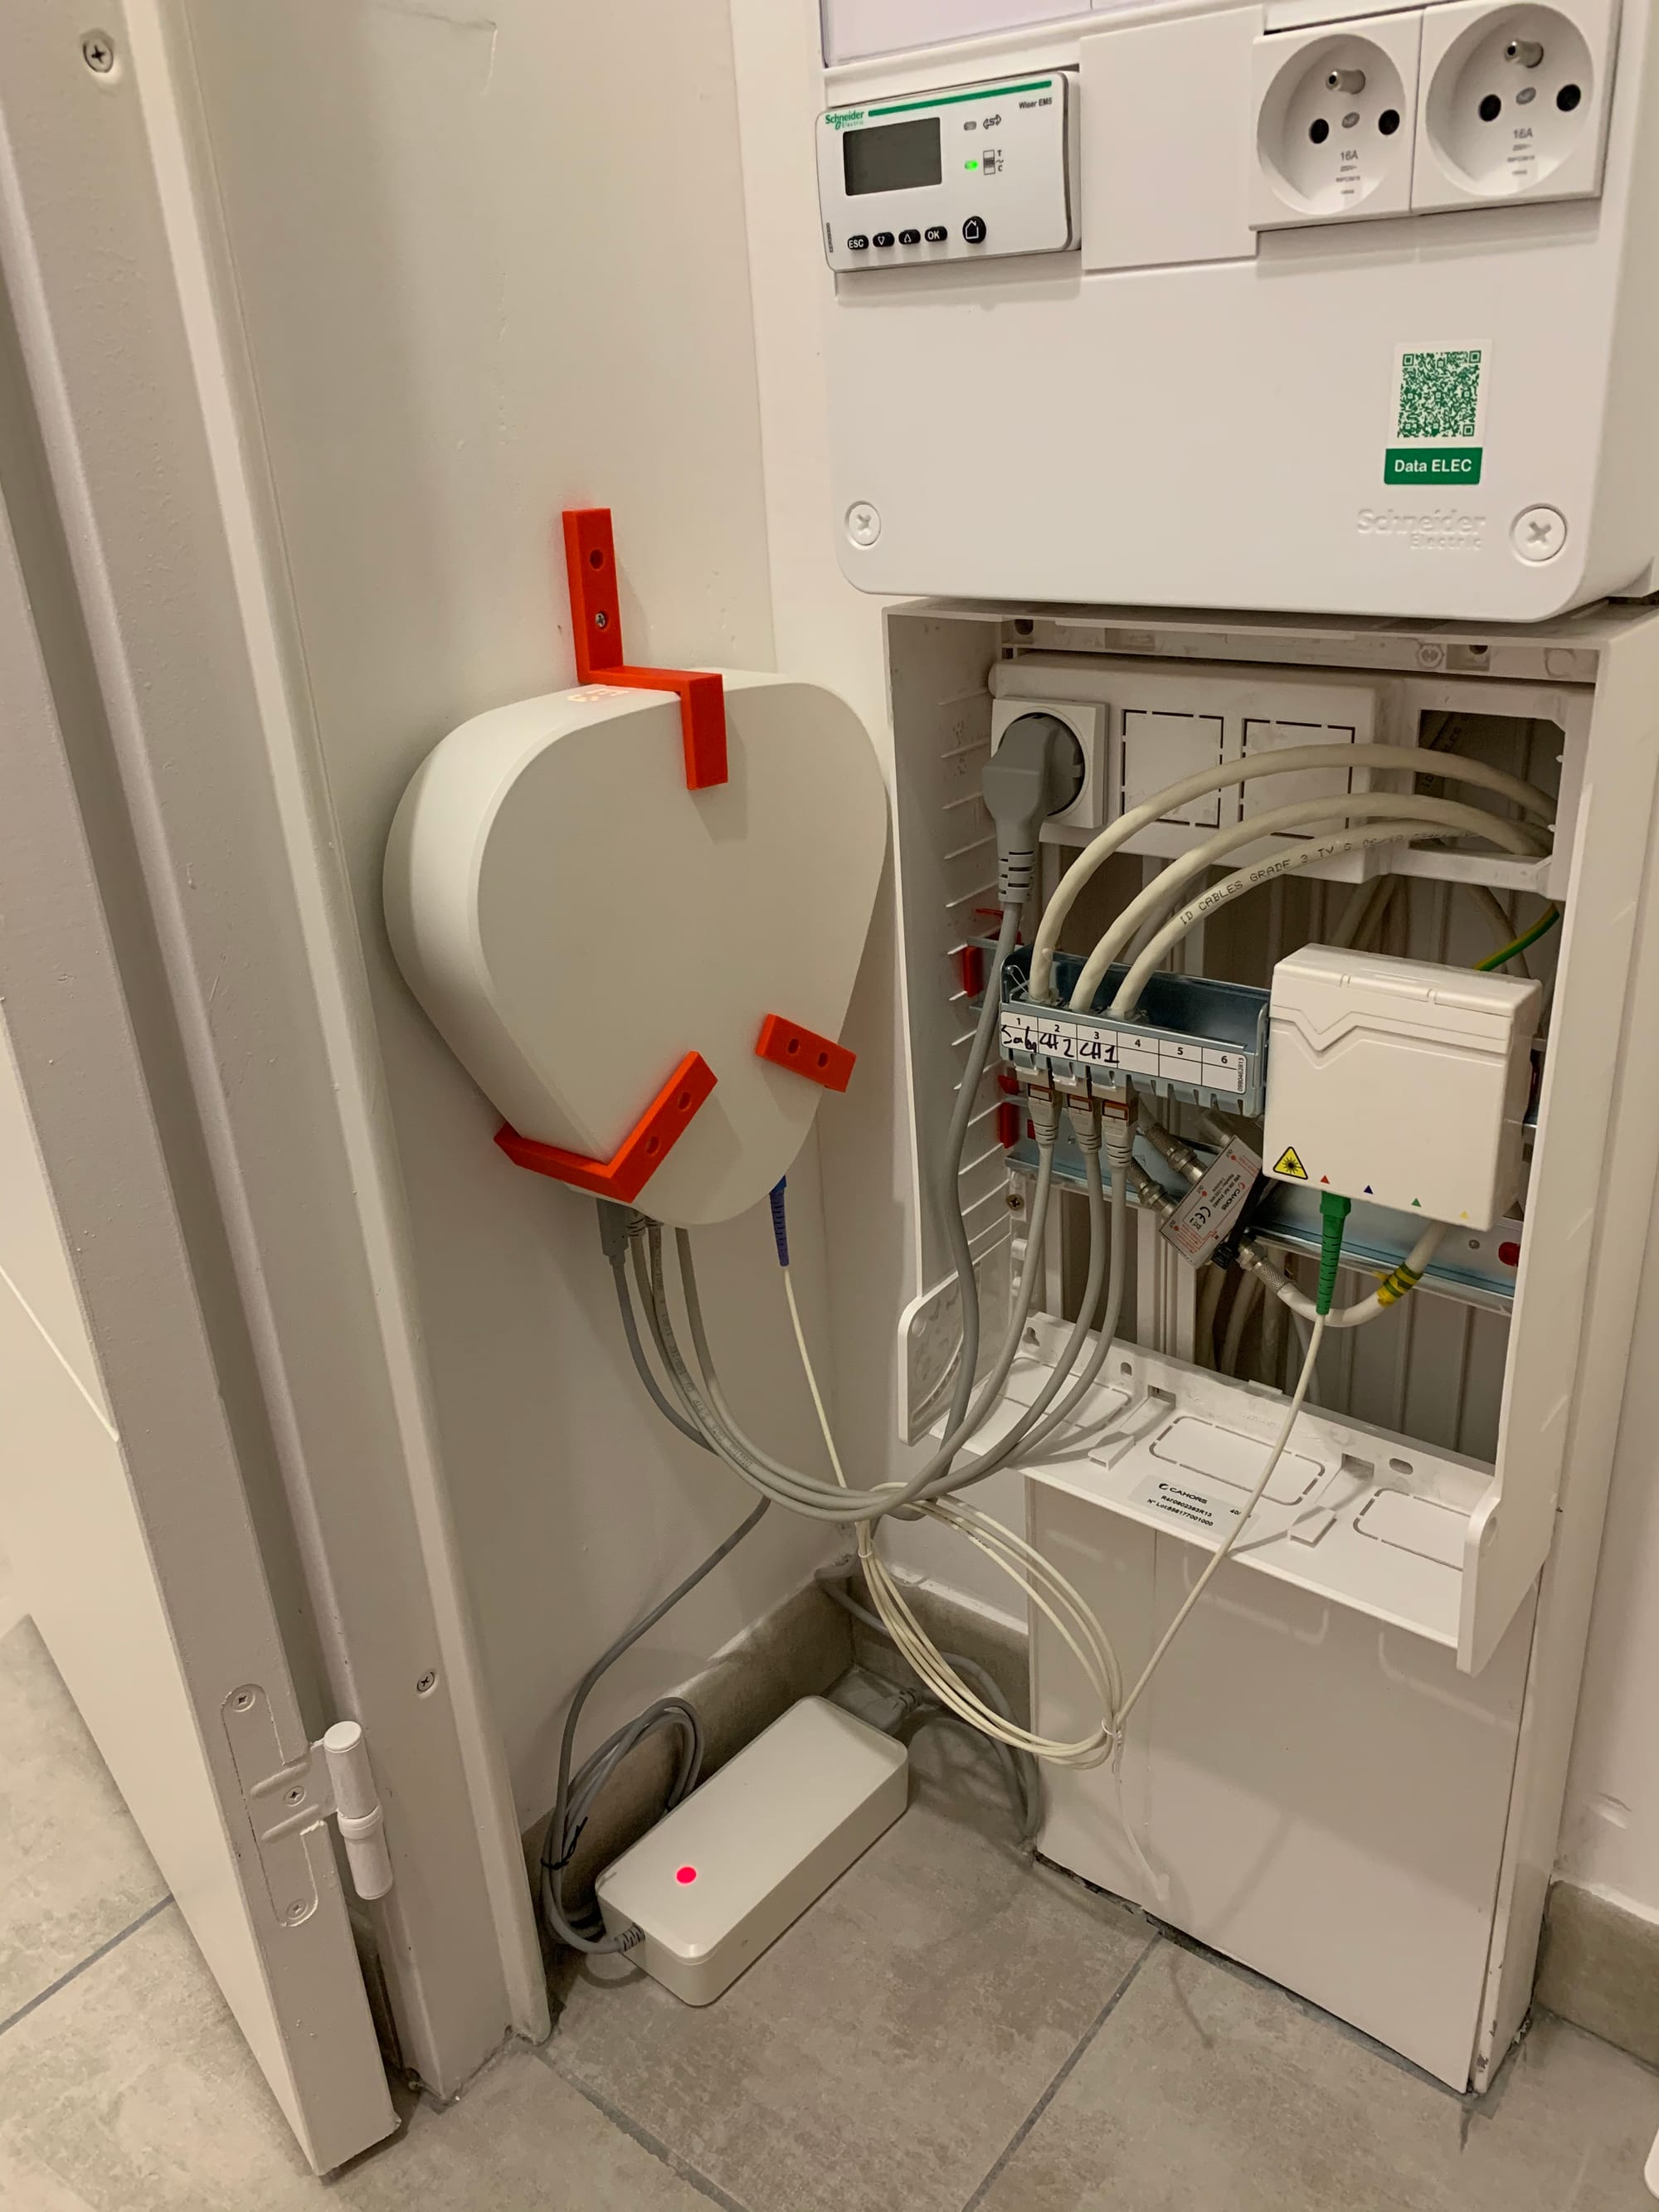
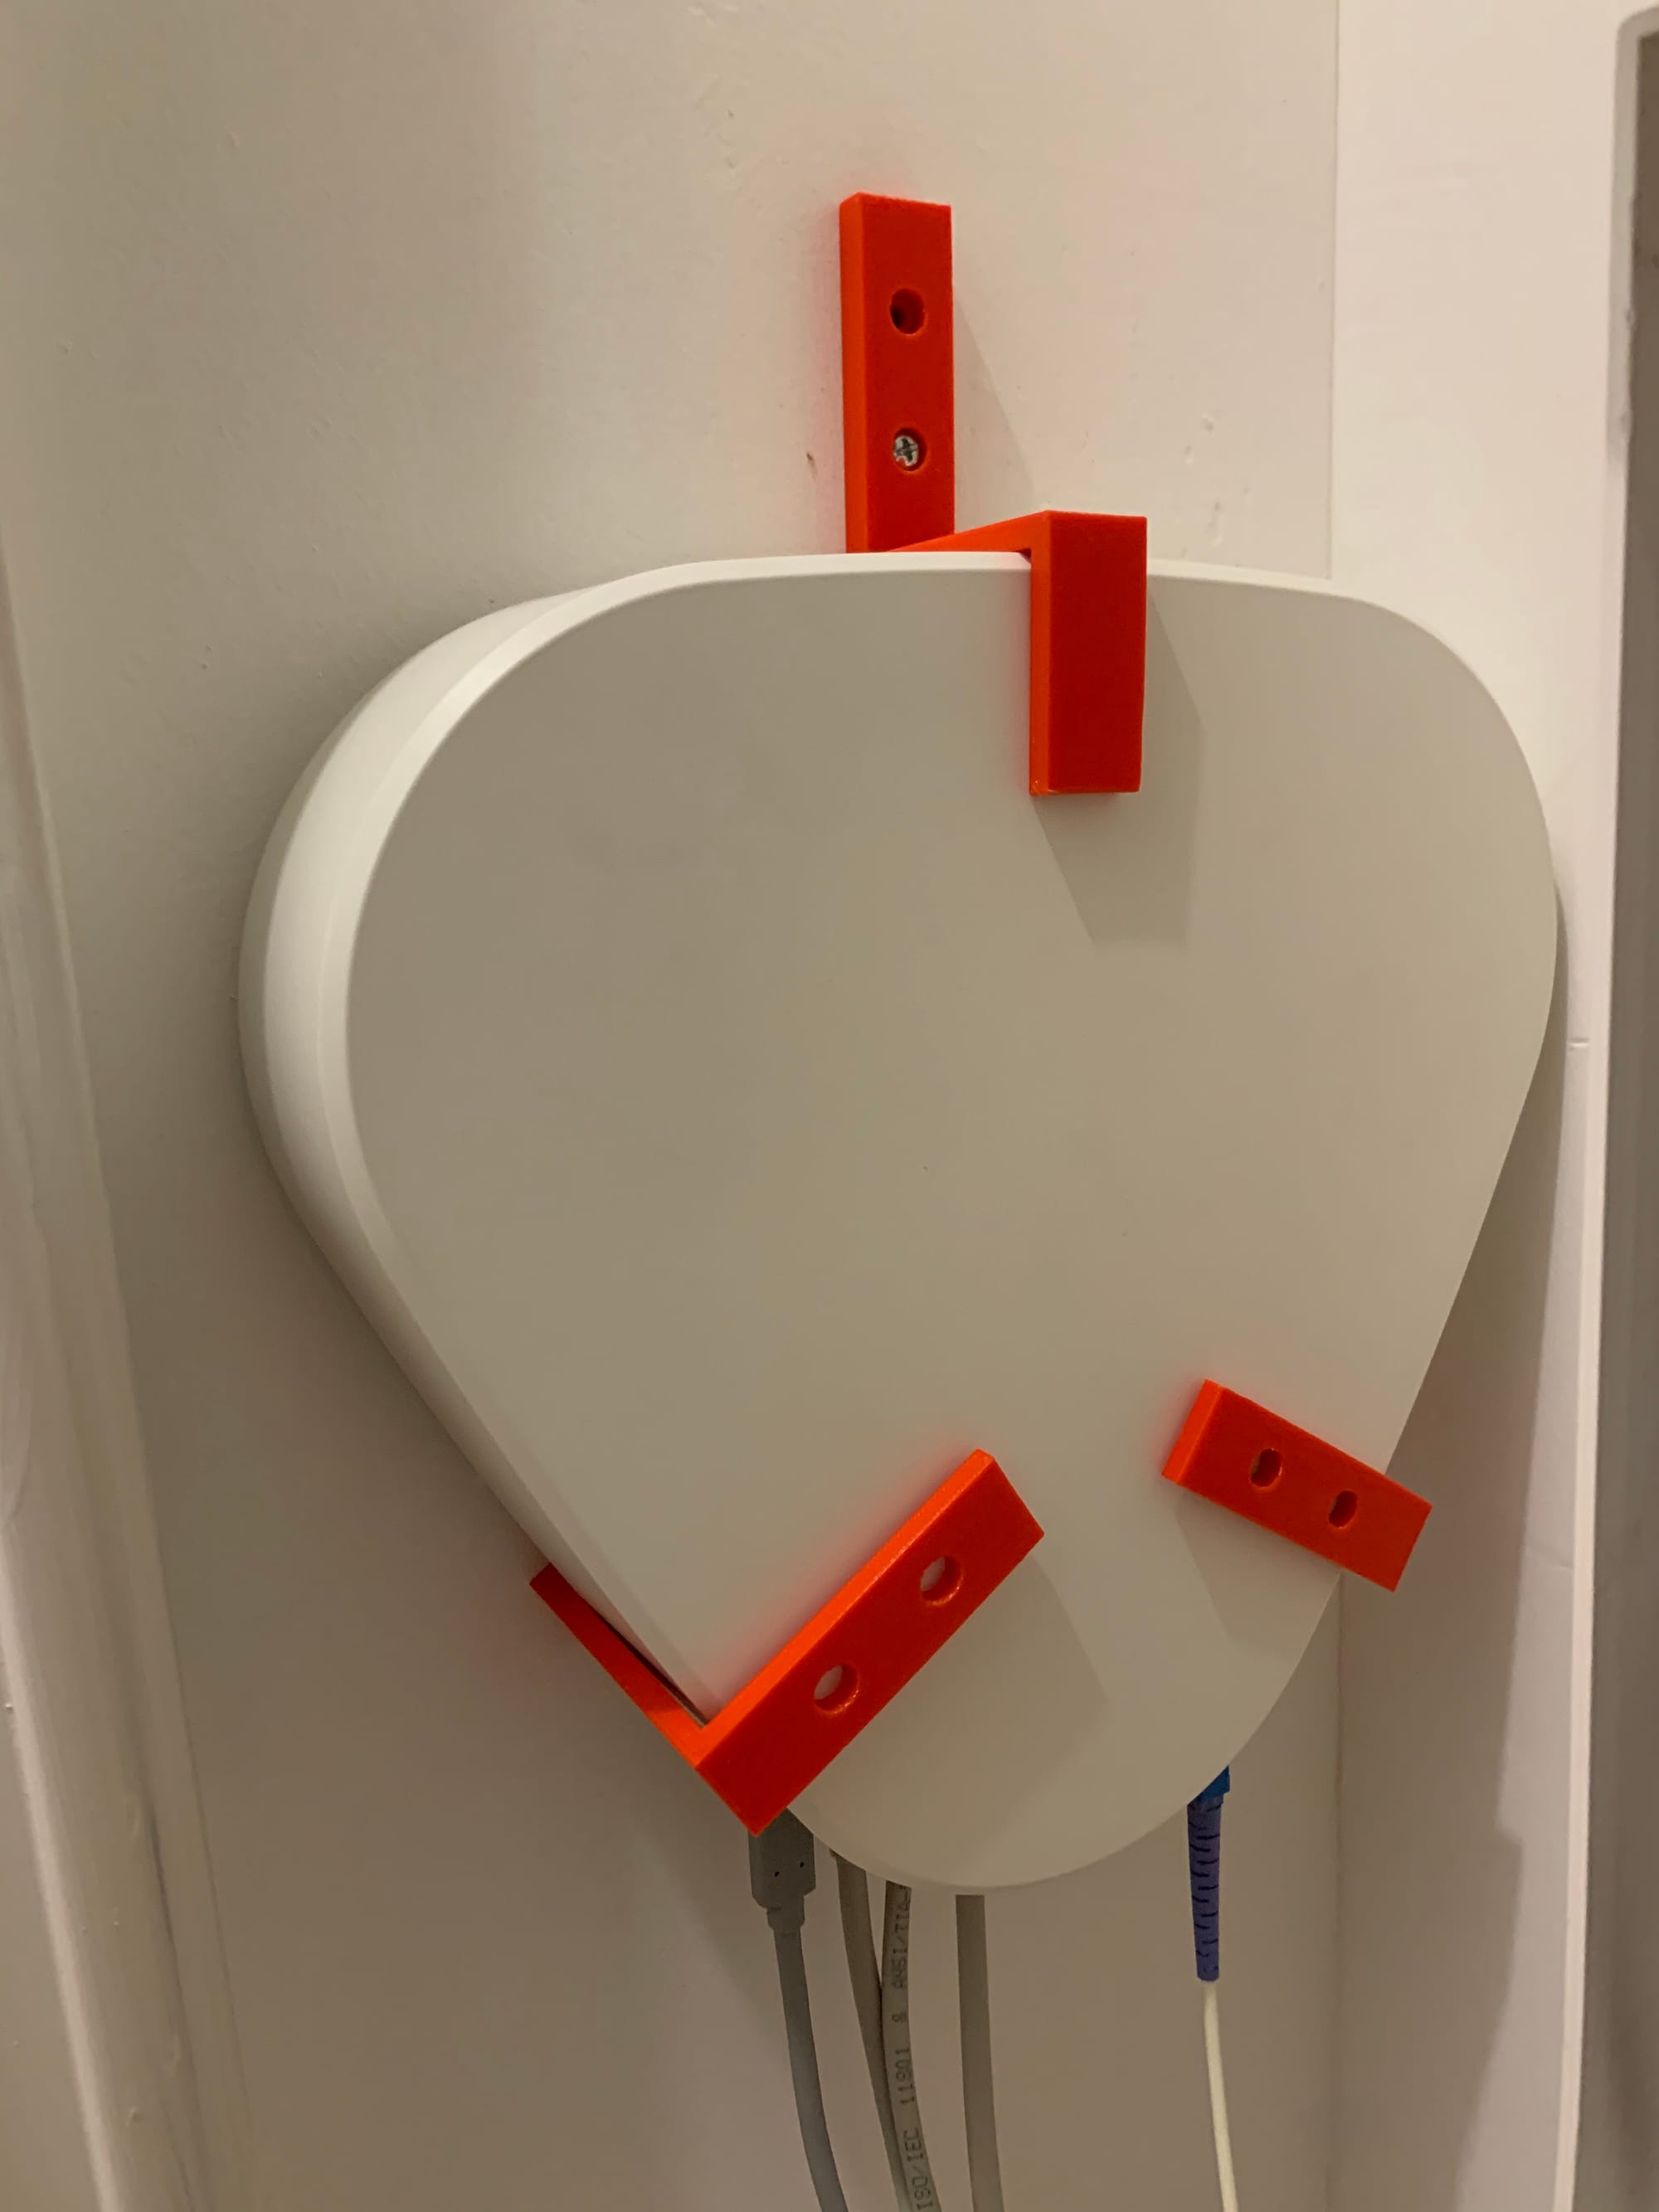
Photos of the modem mounted to the wall with the 3d printed parts
I'm quite proud of this since it's one of my first "hardware" projects from start to finish and it looks quite gorgeous in that red plastic 😍
Key takeaways
Here are some things I learned during this short adventure:
- Take the manufacturing process into account during the design.
- Different manufacturing processes will impose different constraints on your design.
- Take the assembling process into account during the design.
- If you need to screw something, then you'll likely need to use a screwdriver, which is basically a long piece of metal. Create room for your tools!
- 3D printing is not precise.
- Free software rules.
- CAD and 3D printing can help you cheaply create small custom things for your home.